Vegan Meringue Nests (Gluten-Free Vegan Summer Dessert)
If you’re looking for a light and elegant dessert that’s perfect for warm weather, Vegan Meringue Nests (Gluten-Free Vegan Summer Dessert) are a beautiful option. Traditional meringues rely on egg whites, but this vegan version uses a clever plant-based alternative that creates the same crisp, airy texture.
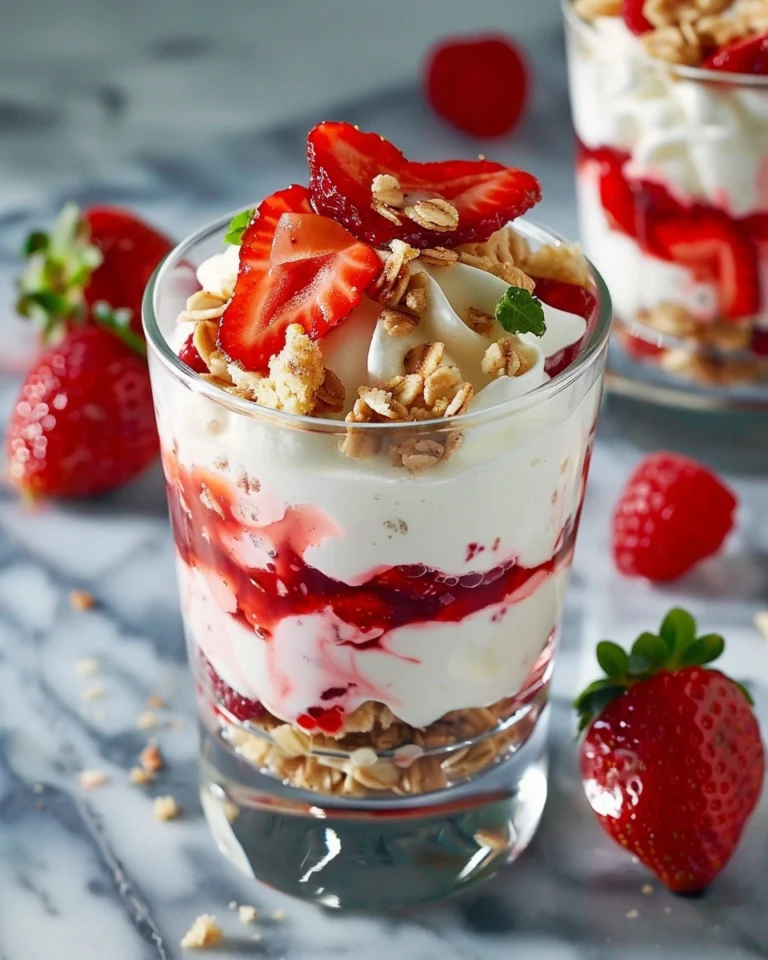
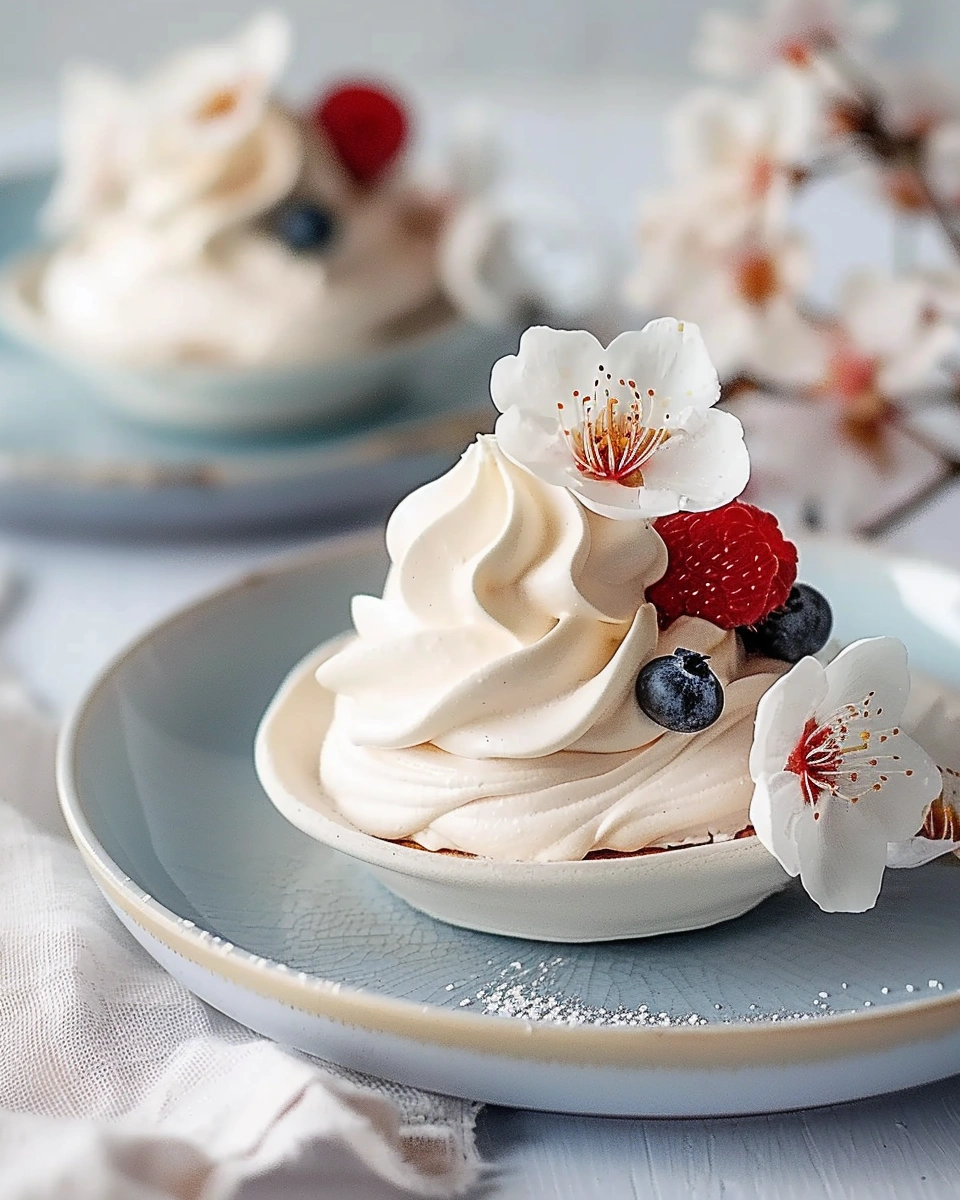
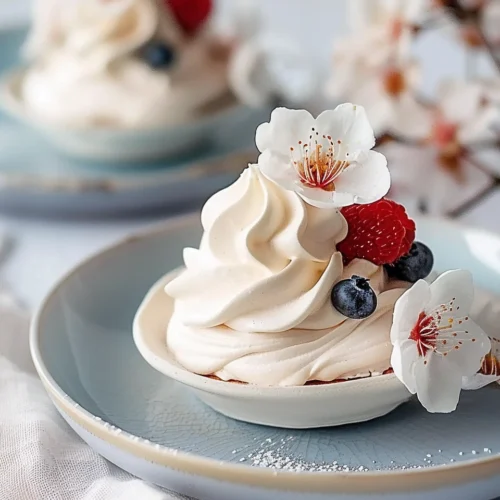
These vegan meringue nests are delicate, sweet, and perfectly crunchy on the outside with a slightly soft center. They’re shaped like little nests and filled with fresh fruit, dairy-free whipped cream, or coconut cream, making them ideal for summer desserts.
As a recipe blogger who enjoys experimenting with vegan baking, I’ve found that aquafaba (the liquid from canned chickpeas) works amazingly well as a replacement for egg whites. It whips up beautifully and creates meringues that are just as impressive as traditional ones.
In this guide, you’ll learn how to make vegan meringue nests, including ingredient preparation, step-by-step baking instructions, helpful tips, variations, serving ideas, and answers to common questions.
Why You’ll Love This Recipe
-
100% Vegan and Gluten-Free
A dessert everyone can enjoy. -
Light and Elegant
Perfect for summer gatherings. -
Beautiful Presentation
The nest shape makes them visually stunning. -
Crispy and Airy Texture
Just like classic meringues. -
Great for Fresh Fruit Toppings
Perfect with berries and whipped cream.
Ingredients & Prep
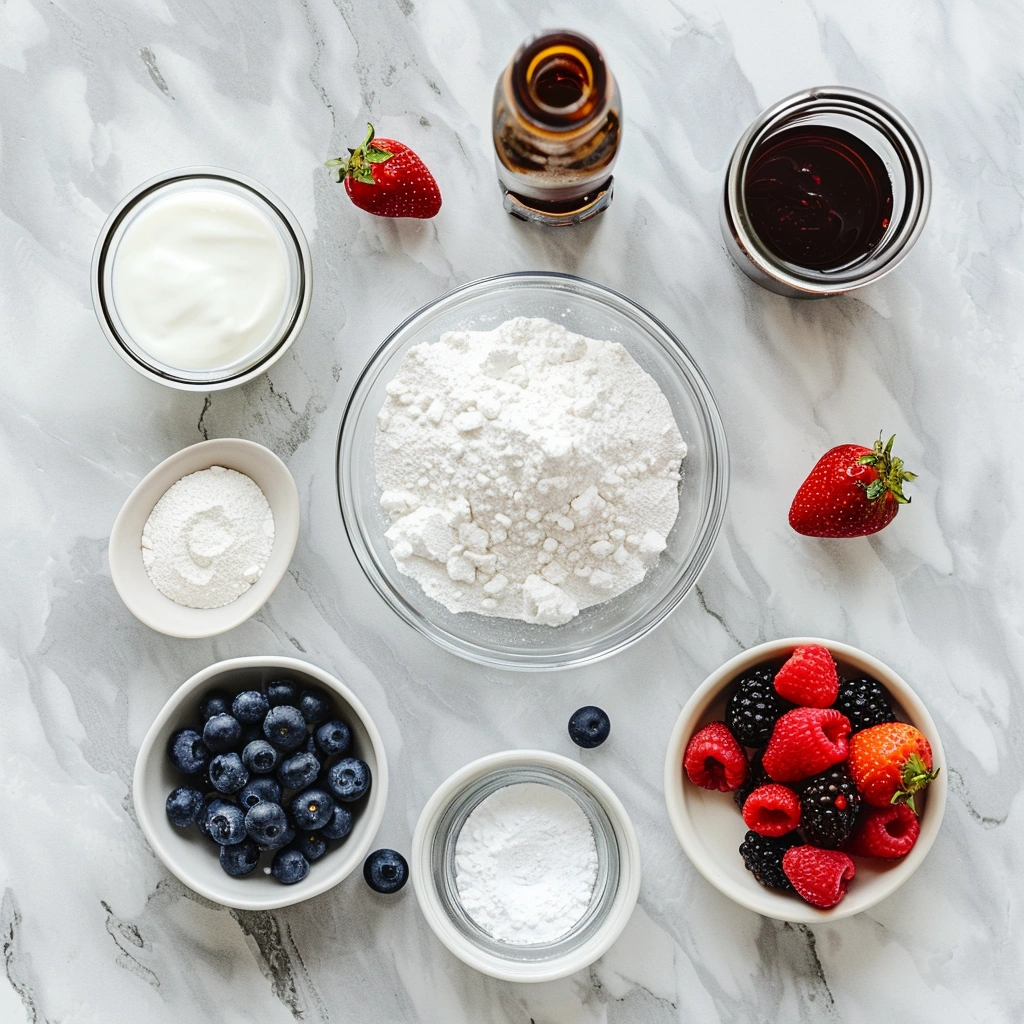
Main Ingredients Prep
These ingredients form the base for vegan meringue nests.
-
½ cup aquafaba (liquid from canned chickpeas)
-
¾ cup granulated sugar
Aquafaba acts as the egg white substitute.
Seasonings, Sauces, or Flavor Base
These ingredients help stabilize the meringue.
-
½ teaspoon cream of tartar
-
1 teaspoon vanilla extract
Cream of tartar helps create stable peaks.
Pantry Staples
You may also want toppings for serving.
-
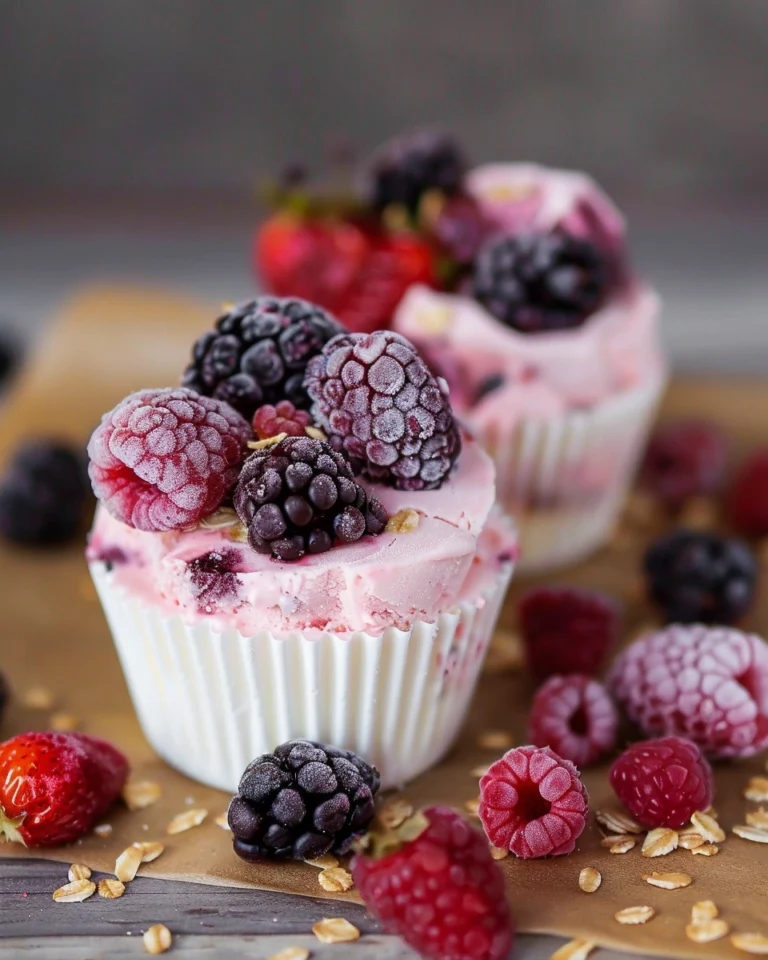
Fresh berries (strawberries, raspberries, blueberries)
-
Coconut whipped cream
-
Optional mint leaves
Step-by-Step Cooking Instructions
Pre-Cooking Prep
-
Preheat the oven to 225°F (110°C).
-
Line a baking sheet with parchment paper.
Low baking temperature helps dry the meringues slowly.
Cooking Method
-
Pour aquafaba into a large mixing bowl.
-
Using an electric mixer, beat on high speed until it becomes foamy.
Add cream of tartar and continue whipping.
Gradually add sugar one tablespoon at a time while mixing.
Beat until stiff, glossy peaks form.
Finally, mix in vanilla extract.
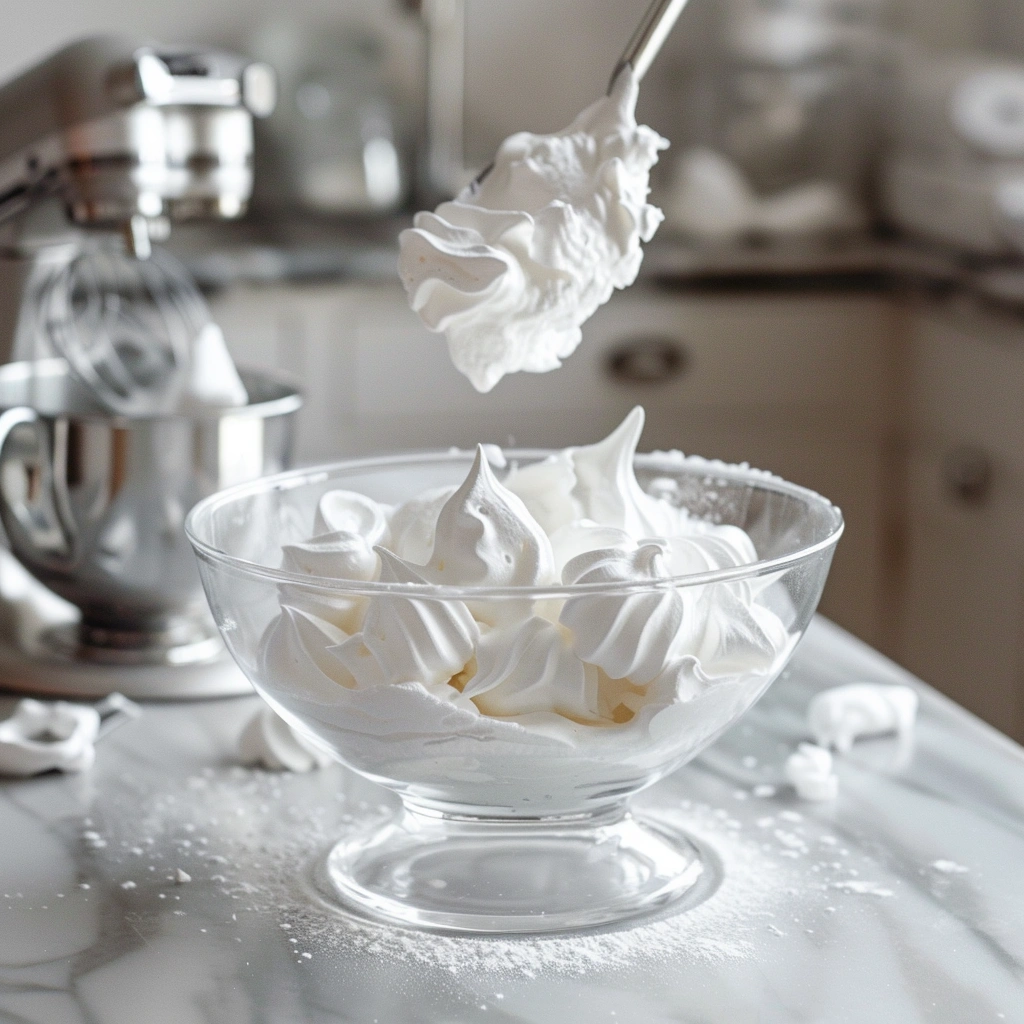
Doneness or Texture Check
The meringue should be:
-
Thick and glossy
-
Holding firm peaks
-
Smooth and stable
Resting or Final Touches
Spoon or pipe the meringue onto the baking sheet.
Shape each portion into a small nest by creating a shallow center.
Bake for 90 minutes.
Turn off the oven and allow the meringues to cool inside for 1 hour.
This helps them dry completely.
Pro Tips for Perfect Results
Common Mistakes to Avoid
Using oily bowls or tools
Any grease can prevent the meringue from whipping properly.
Adding sugar too quickly
Gradual addition creates a smoother texture.
Opening the oven frequently
Sudden temperature changes can crack meringues.
Recommended Tools
These tools help make preparation easier.
-
Electric mixer
-
Mixing bowl
-
Baking sheet
-
Parchment paper
-
Piping bag (optional)
A piping bag helps create neat nest shapes.
Storage & Reheating Tips
Vegan meringue nests store well.
-
Keep in an airtight container at room temperature for 3–4 days.
Avoid storing in humid environments.
Flavor Variations
Spicy Version
For a unique twist, add:
-
A pinch of cinnamon
-
A hint of cardamom
These spices create warm flavor notes.
Healthy / Special Diet Option
This recipe is already vegan and gluten-free, but you can also:
-
Use coconut sugar for a slightly different flavor
-
Add fresh fruit puree as topping instead of whipped cream
Global Flavor Twist
Try creative variations.
Tropical Version
-
Fill nests with mango and pineapple
Berry Garden Version
-
Top with mixed berries and mint
Serving Suggestions
Vegan meringue nests are perfect for summer desserts.
Dessert Ideas
Serve them:
-
With coconut whipped cream
-
With fresh berries
-
With lemon curd (vegan version)
Pairing Ideas
Pair them with:
-
Iced tea
-
Lemonade
-
Fruit salads
They also look beautiful on dessert platters.
FAQs
Can I make this ahead of time?
Yes. Vegan meringue nests can be made 1–2 days in advance and stored in an airtight container.
How do I fix common mistakes?
Meringue not whipping:
Ensure bowls and tools are completely clean and grease-free.
Meringues sticky:
Bake longer or allow more drying time in the oven.
Meringues collapsing:
Make sure the mixture reaches stiff peaks before baking.
Conclusion
Vegan Meringue Nests (Gluten-Free Vegan Summer Dessert) are a light, elegant treat that’s perfect for warm weather gatherings. With their crisp texture and beautiful presentation, they’re a stunning dessert that’s surprisingly simple to make.
Once you try this recipe, it may become one of your favorite vegan desserts. Many readers love it because it’s airy, sweet, and perfect for pairing with fresh fruit.
If you enjoyed this recipe, you might also like Vegan Pavlova with Berries or Coconut Whipped Cream Fruit Cups for another refreshing plant-based dessert.
Vegan Meringue Nests (Gluten-Free Vegan Summer Dessert)
YaraIngredients
- ½ cup aquafaba liquid from canned chickpeas
- ¾ cup granulated sugar
- ½ teaspoon cream of tartar
- 1 teaspoon vanilla extract
- Optional toppings:
- Fresh berries strawberries, raspberries, blueberries
- Coconut whipped cream
- Mint leaves
Instructions
- Preheat oven to 225°F (110°C) and line a baking sheet with parchment paper.
- Pour aquafaba into a clean mixing bowl and beat until foamy.
- Add cream of tartar and continue whipping.
- Gradually add sugar, one tablespoon at a time, while mixing.
- Beat until stiff, glossy peaks form.
- Mix in vanilla extract.
- Spoon or pipe meringue onto the baking sheet and shape into nests.
- Bake for 90 minutes.
- Turn off the oven and let meringues cool inside for 1 hour.
- Fill with coconut cream and fresh fruit before serving.
Notes
- Ensure all bowls and tools are grease-free.
- Add sugar gradually for stable peaks.
- Avoid opening the oven while baking.
- Store in a dry place to prevent stickiness.